How to make a Christmas coloring book at home
A stack of loose coloring pages gets scattered by lunchtime. Put the same pages in a book and it turns into something a child carries around, finishes page by page and keeps. You don't need special paper or a craft store run. A printer, a stapler and about an hour are enough.
1. Pick pages that fit your child
Start with your child's age, not with the pages you like best. A three-year-old wants a few big shapes and thick lines. An eight-year-old gets bored with that and wants a whole scene to work on.
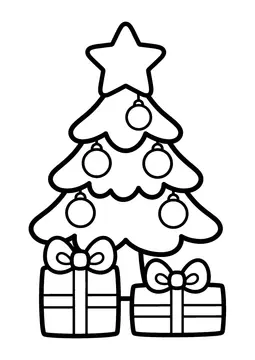
- Ages 2–4: one big object per page, like a tree, a bell or a gift box.
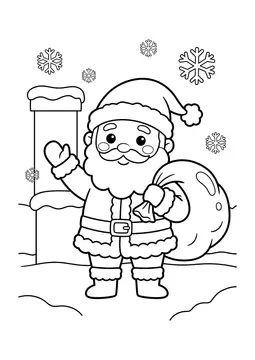
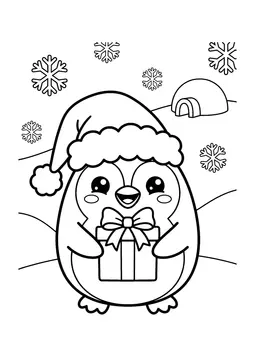
- Ages 4–6: a character doing something, with a little background.
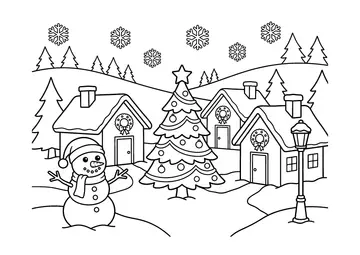
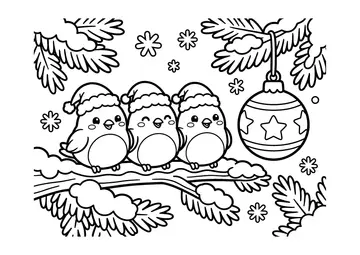
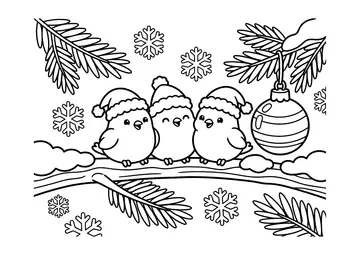
- Ages 6–8: busy scenes with lots of small parts to fill in.
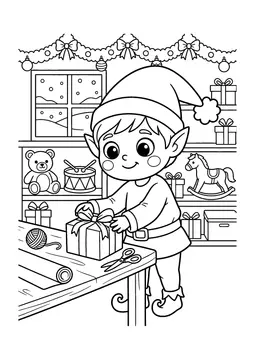
If you're making books for siblings, it's fine to mix levels. Put a couple of harder pages near the end so the older child has something to grow into.
2. Choose 10 to 20 pages
Ten pages is a good first book for toddlers. Older kids happily work through 20 over a week or two. More than that and the book gets thick and hard to bind with a regular stapler.
A simple mix that works well:
- a few easy pages to start (a stocking, a wreath, a candy cane)
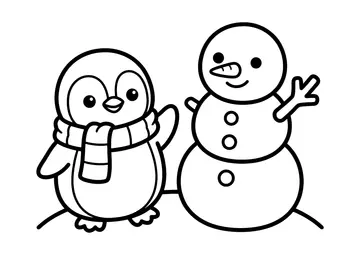
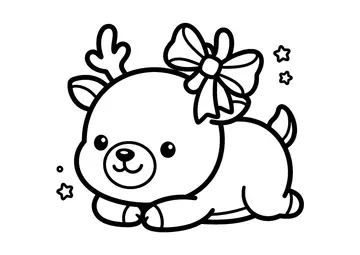
- a few characters (Santa, reindeer, a penguin in a hat)
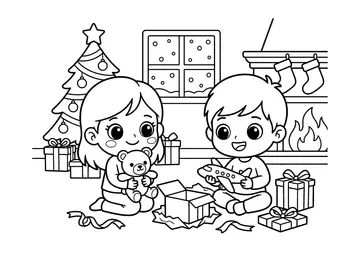
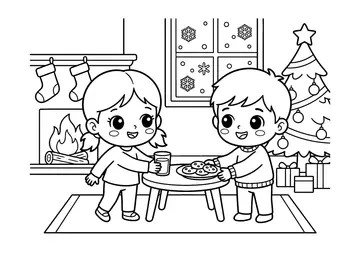
- one or two big scenes for the end (a snowy village, Christmas morning)
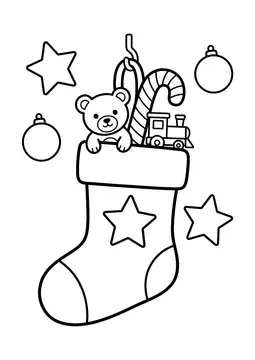
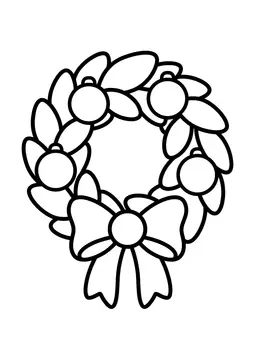
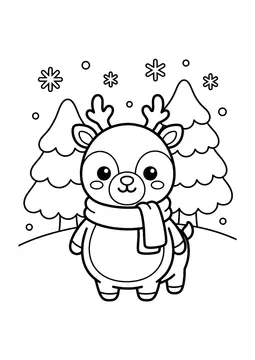
3. Put the pages in order
Order matters more than you'd think. Kids lose interest when the first page is the hardest one. Start easy, build up, and end with a page that feels like a finale, like Santa's sleigh or presents under the tree.
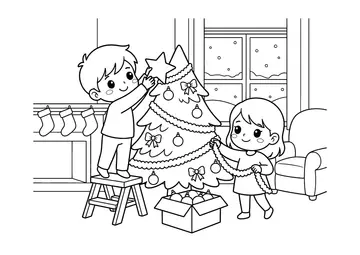
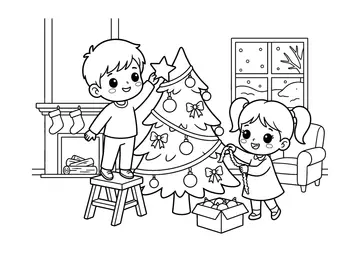
You can also tell a small story: decorating the tree, baking cookies, writing to Santa, then Christmas morning. Children who can't read yet still follow a story told in pictures.
Christmas at Home15 pages · See the collection →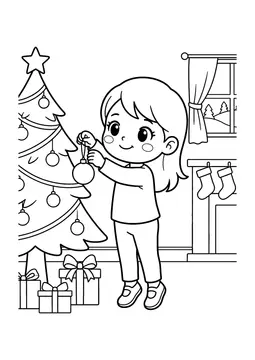
4. Print it as one PDF
Printing pages one by one is where most homemade books stall. Instead, add the pages to My Book on ColorTote, drag them into the order you want, and print a single PDF. Each page is sized for Letter or A4 paper, so nothing gets cut off at the edges.
A few printer settings help:
- Print single-sided. Markers bleed through, and the back of a page is often hidden in the binding anyway.
- Choose Fit to page or Actual size so the lines stay crisp.
- Regular copy paper works for crayons and colored pencils. For markers, heavier paper (24 lb / 90 gsm or more) holds up better.
5. Bind the book
Pick whatever you already have at home:
| Method | Good for | Tip |
|---|---|---|
| Stapler | up to ~20 pages | Staple along the left edge, three staples, 1 cm from the edge |
| Hole punch + ribbon or yarn | any size | Easy to add pages later |
| Binder clip | toddlers | Pages come out one at a time, then go back |
| Folder with prongs | school use | Holds up in a backpack |
6. Add a cover
A cover is what makes it a book. The simplest one is a blank sheet with your child's name in big letters for them to decorate. A photo glued on the front works too.
Premium on ColorTote adds a printed color cover with your child's name already set on it. It's a nice touch for a gift, but a hand-drawn cover is just as loved.
Ready-made sets
If you'd rather not choose page by page, start from a collection and remove the pages you don't want:
Christmas Pages for Toddlers20 pages · See the collection → Christmas Pages for Preschool24 pages · See the collection → Christmas Scenes for Big Kids24 pages · See the collection →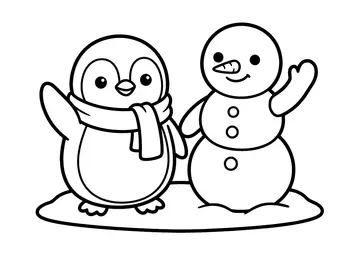
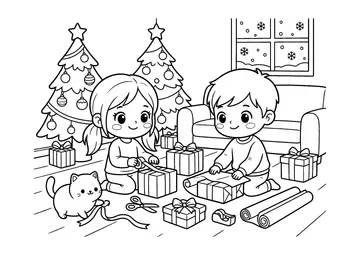
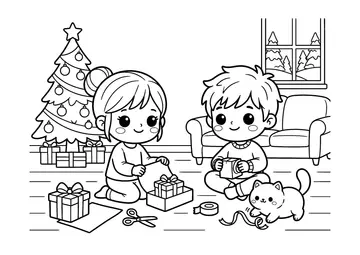
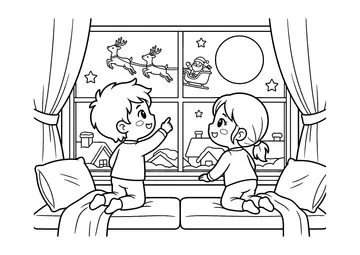
Print every page in this post
Add all 9 pages to My Book, put them in any order, then print one PDF on Letter or A4 paper.